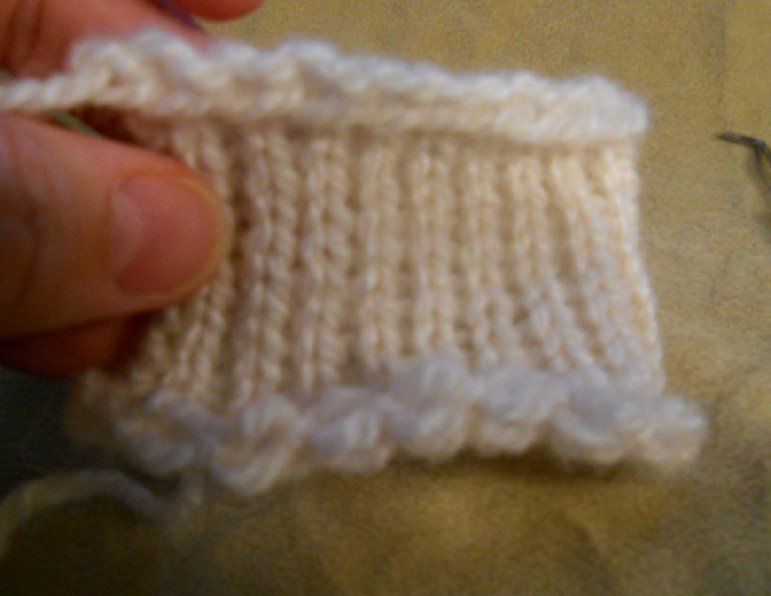
One of the problems loom knitters inevitably encounter is mismatched cast on and bind off edges. On some projects (hats, toys, novelty items, etc.) having mismatched beginning and ending edges is not that important; however, on items where both edges show (scarves, wristers, squares, etc.) having matching edges is desired for a more polished look.
In the past I've tried various cast on and bind off methods in which I could either make the cast on edge a bit tighter and loosen up the bind off edge. With the exception of mitered squares, this resulted in edges that sort of matched on most projects. However, mitered squares are unique since they are created by knitting diagonally. Therefore, the cast on edge forms two sides of the square and the other two sides of the square are formed by the end of rows that continually decrease at the diagonal center of the square. To those who are not familiar with making mitered squares on the the loom, you might want to read Denise Layman's blog post, Mitered Square Magic. I've never written up directions for the method I use to create mitered squares, but except for the cast on and center decrease method my squares are similar to those described in Denise's post.
After pondering various possibilities, I decided to adapt my drawstring cast on that is used primarily for round knitting into a flat panel adjustable cast on. This is the results when used on a mitered square with the adjustable cast on featured along the dark brown edges (please pardon the Chihuahua hair) :
If you have ever made a mitered square on the loom, your square was probably more diamond shaped than square. The adjustable cast on allows you to "square up" the diamond and change it into a true square. Are you interested yet? Trust me, you're going to love it!
Adjustable cast on for flat panel loom knitting
(Working from left to right using one strand of Bernat Softee Chunky Yarn)
Step 1: Reach through the center of the loom and tie a slip knot on the anchor peg. DO NOT slip knot a peg that will be included in the knitted item, because this will not allow you to adjust the cast on edge later on.
Step 2: Use either the original method or the alternate method of the drawstring cast on to cast on the desired number of pegs (see Loom Knitting Techniques in the right sidebar). For simplicity, I'm using the alternate method. The first picture below shows where the working yarn has been cast onto an even number of pegs (10 pegs).
 |
| Step 1 and 2: Slip knot anchor peg and weave yarn onto pegs. |
Step 3: After weaving the yarn in a zigzag fashion across the desired number of pegs, turn on the last peg and lay the working yarn across the pegs, knit off the odd pegs and do yarn over on the even pegs. The first set of pictures below illustrate what this looks like if you have cast on an even number of pegs and the second set of pictures feature a cast on using an odd number of pegs.
 |
| Step 3 illustrating even number of pegs |
 |
| Step 3 illustrating odd number of pegs |
Step 4: Continue knitting off the odd pegs and YO on even pegs until all pegs have been cast on.
 |
| Step 4 showing completed cast on |
Step 5: Knit the required number of rows and work a basic flat panel bind off. The picture below shows the completed swatch with the adjustable cast on at the bottom and the bind off at the top.
 |
| Step 5 showing cast on at the bottom and bind off at the top |
Step 6: Adjust the cast on edge by pulling on the beginning yarn tail until the cast on edge matches the bind off edge.
 |
| Step 6a, adjusting the cast on edge |
 |
| Step 6b, adjust the cast on edge until it matches the bind off edge |
Step 7: When the beginning and ending edges match, secure the beginning yarn tail by slip knotting it into place, trim the excess yarn tail and weave the remaining yarn tail into the fabric.
 |
| Step 7, securing the beginning yarn tail |
Step 8 (number of perfection): Admire your perfectly matched edges.
 |
| Step 8, showing matched cast on and bind off edges |
|
|
I've also added the
Adjustable Cast On instructions to the Loom Knitting Techniques as a PDF file.