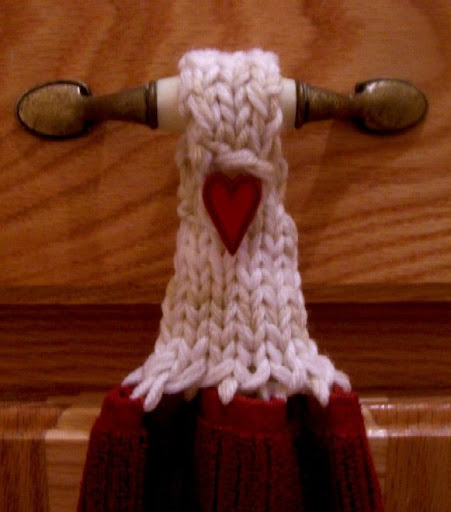
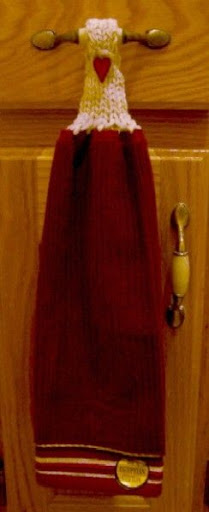
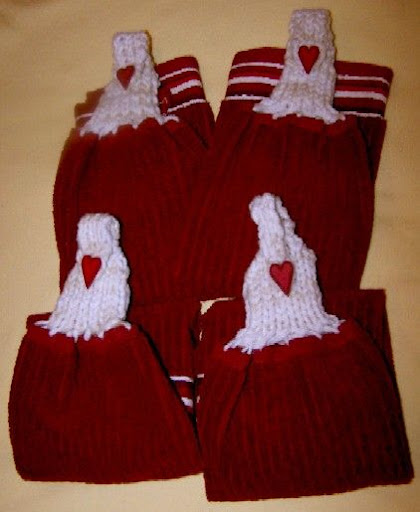
This little project was worked up at the request of my friend, Tina, who lives in St. Augustine, FL. She made the Ms. Santa Towel Topper and challenged me to make a snowman topper. If you know me, you know that I love a challenge! So, on our weekly trek to our Alabama cabin near Centre, I designed the Snowman Towel Topper pictured above. While the actual design and knitting took a little less than two hours while riding in the car, adding details and finishing up took another hour or so at home. Now that I've worked out the pattern, I'm thinking you could make the whole thing in about an hour or so.
Now, what secret is this little Snowman hiding? Most towel toppers are physically attached to the towel , or they feature a decorative motif at the top of an exposed hook. This little fellow's towel is interchangeable, but the towel holder is completely hid beneath the topper body so you can switch the towel when it needs to be washed - or when you want to change the look of the snowman.
 Towel holder ring on the underside of the snowman's body
- This topper-holder was knitted from the bottom up using two strands of white and black worsted weight yarn and the Knifty Knitter Flower Loom.
- With the white yarn, work a three stitch picot cast on, then e-wrap knit stitches for twelve rows for the body. The e-wrap creates a looser knit in order to accommodate the towel.
- Flat knit fourteen more rows to form the head.
- Change to black yarn and knit seven e-wrap rows.
- Using the hang hem technique, reach down to the first black row and place those stitches on the corresponding pegs and knit off this row to form the hat brim.
- Flat knit six rows for the body of the hat, plus one e-wrap row for a total of seven rows.
- Purl one row, then using the hang hem technique again, reach down two rows below and pick up the stitches from the e-wrap row. Knit off to form the crown edge of the hat.
- Flat knit three rows to finish the crown.
- Decrease the twelve stitches to form pairs from pegs (1-2, 3-4, 5-6, 7-8, 9-10, 11-12); lay the working yarn across the pegs & knit off two over one; and shift the finished six stitches so there are no empty pegs between stitches. Tighten working yarn to remove slack, then flat knit a row without decreasing.
- Decrease again by placing three of remaining six stitches onto the corresponding adjacent stitch to form three pairs of two loops. Lay the working yarn across the top of the two combined stitches and knit two over one. Shift these three stitches to consecutive pegs so no empty pegs are in between.
- Using the three pegs from the previous step, work a four inch I-cord and finish with a decreased bind off.
- Loop the end of the I-cord back about half way on itself to form a buttonhole.
- Finish the face & hat by sewing a button to the edge of the hat crown to form the hanging loop, and adding beads, buttons or embroidery for face decorations. Add a very small amount of stuffing to the hat to shape - if necessary. Also, after shaping the hat, use a yarn needle and close the inside opening at the base of the hat with a few tack stitches.
- Push a white shower curtain ring (or a large cabone ring - I couldn't find these, but the shower curtains are readily available and sturdier to boot) inside the head to shape. Run a gathering stitch around the neckline, cinch and tie off to form the neck.
- Make the body towel hanger by pushing a second white shower curtain ring inside the body and whip-stitch to the base of the neck.
- For the arms, using two strands of white yarn as one work a drawstring cast on using the five peg end of the Knifty Knitter Spool Loom. Knit using all five pegs until the I-cord is approximately eight inches long and work a decreased bind off leaving six inch yarn tail. Use a crochet hook and pull the arms through the "shoulder area" stitches on the body. (I pulled my in front of the ring). Even up the arms and tie them together in front. If necessary, tack them in place on the lower body.
- For the scarf, work an alternating red & white (or the colors of your choice) I-cord using one strand of yarn on four pegs of the Knifty Knitter Spool Loom. Tie and tack in place around the neckline.
 Hopefully, I'll add the PDF file in a few days and send a message to Loom Lore readers through Notify (see upper right of sidebar) to let you know when it is available for download.