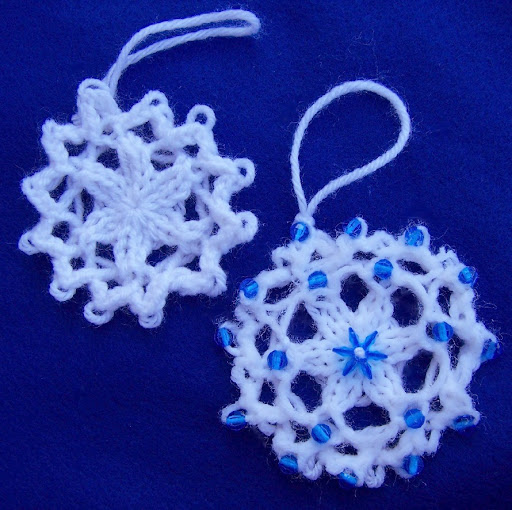
The poinsettia, or flower of the Holy night, is based on a Mexican legend which you can read about
here. While technically not a flower, its beauty rivals that of any flower I know. If you are a regular reader of my blog, you know of my love for creating flowers on the knitting looms and since it is the holiday season I just had to experiment with creating a poinsettia. I've not formally written the pattern, because I really don't know how much interest there is making these. Instead, I will give a description of how I made my poinsettia in this blog post.
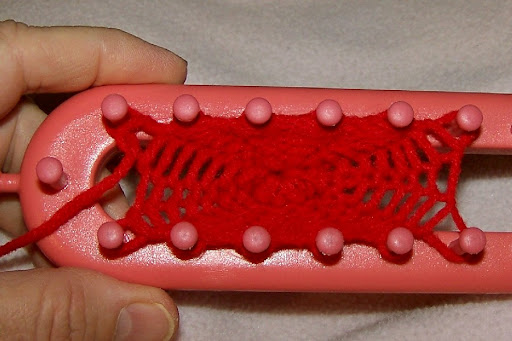
The red leaf of the poinsettia began with a drawstring cast on (see
Easter Egg pattern for drawstring cast on directions) on the little pink Knifty Knitter long loom using the first 12 pegs as a round loom.
Drawstring cast on: beginning and completed
After casting on, I knitted (
flat knit stitch) for nine rows. The gap between the two rows of pegs creates a loose tension that constantly needs to be adjusted. When about seven rows have been completed, cinch the cast on edge shut.
Closing the cast on edge
Before beginning the tenth row, decrease the stitches at each corner by lifting the outer corner loop and placing it on the neighboring peg. You now have eight pegs with loops (four pegs on each side of the loom). The bottom loop on the four corner pegs is knitted over the decreased loop to give the illusion of a little spike edge on the leaf.
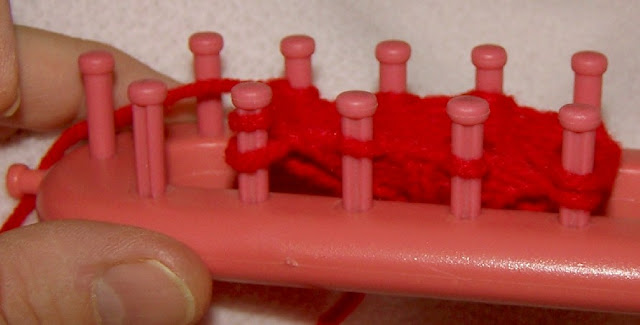
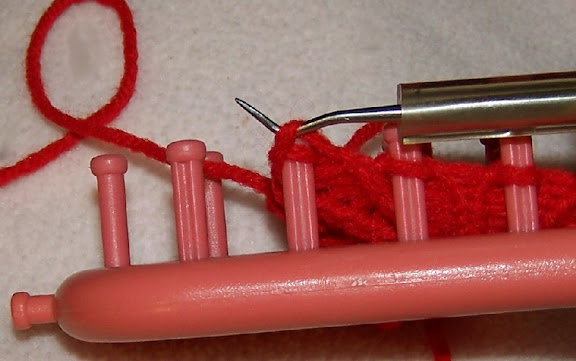 Decreasing at the corners and knitting the decreased peg
After the first decrease, knit five more rows and decrease as before. This will leave four pegs with stitches. Knit four more rounds on the four remaining pegs then do a gathered bind off. Be sure and adjust the tension on the loops prior to binding off. Cut the working yarn leaving an eight inch tail. Use a crochet hook to work the yarn tail around one side of the leaf all the way to the base. Tie a square knot using the yarn tail and the cast on tail, then trim the tails. The completed leaf should look similar to this:
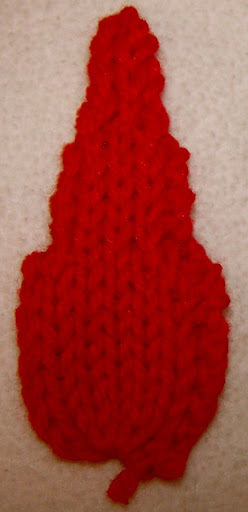
Completed red leaf
When six red leaves have been completed, use a yarn needle, pinch the leaves at the bottom and join all six leaves at the base like this:
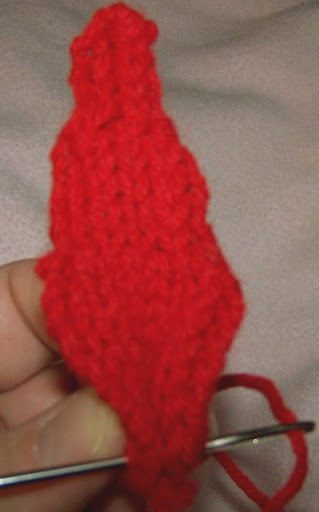

Completed leaves shaped and joined
The cyathium, or yellow center, is formed using one strand of yellow yarn and fifteen yellow beads. Thread the fifteen beads on the strand of yarn prior to knitting. Using the five peg end of the pink Knifty Knitter spool loom, do a drawstring cast on. Knit two rounds adding a bead to each stitch. Do a flat panel bind off, adding a bead to each bind off stitch. Cinch the cast on edge shut then whip stitch the cyathium where the red leaves are joined at the center of the flower.
Make six green leaves by increasing the rows from the red leaf instructions as follows:
- Knit ten rows on twelve pegs; then decrease to six pegs
- Knit eight rows on the six pegs; then decrease to four pegs
- Knit six rows on the four pegs; then bind off.
The green leaves are joined by overlapping the edges instead of pinch pleating as you did with the red leaves. The joined green leaves should look similar to this:
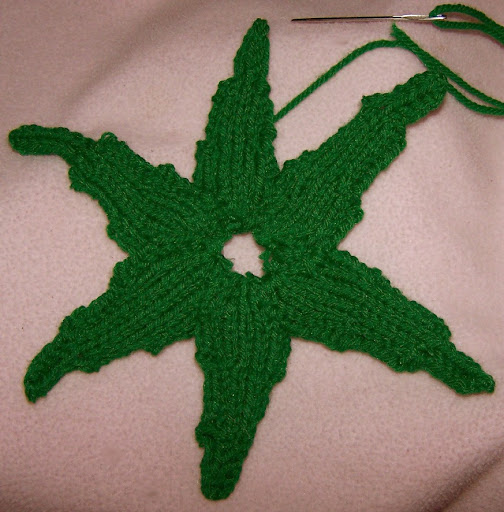 Joined green leaves
 Complete the poinsettia by placing the red leaves on top of the green leaves so the green leaves show between each pair of red leaves and whip stitch in place. The finished poinsettia is approximately eight inches in diameter.

 After making the Victorian Lace ornaments, I had some of the metallic colored Needloft Craft Cord left over. To me, the colors of the metallic cord are reminicent of the 40's vintage Shiny Brite ornaments. So with this in mind, I designed a little bell that is not only super quick to make, but has two different styles of rims. Last year I wrote a pattern for Knifty Christmas Bells, but this bell is even quicker, easier and more fun to make than the Knifty Bell.
  The first style rim, the fastest of the two, is the garter stitch rim which is made by alternating the last three rows with purl & flat knit stitches, then finished with a basic flat panel bind off. You can also add a little variety by using a contrasting color cord to create a stripe. The gold bell pictured on the left has a red cord added on rows 6-8 for the stripe.
 The second style rim uses the I-cord bind off to create a little flare. You can vary the number of stitches in the I-cord to suit your taste. The white bell pictured on the right was made using Needloft white/silver and a 3 stitch I-cord edge. This style is not only good for holiday ornaments, but when done in white it makes a very nice wedding decoration.